This is an obvious question for people migrating from windows to MacOS. Capturing the screenshot of any computer error and sending it to IT team can save a lot of time. On the other hand, sending some awesome picture or video by capturing the screenshot of it to send it to your friends or use in it your next video or blog is a stunning advantage of screenshot tool.
In Windows computer a screenshot button is already given on the keypad but in MacBook, screenshot button is hidden, or I can say it is a combination of some key on the keypad. This screenshot key combination is hidden but has a lot of cool other features which are lacked in most of windows Laptop and PC’s.
Before the release of Mojave OS, the screenshot commands are Command ⌘ + Shift ⇧ + 3 and Command ⌘ + Shift⇧ + 4. But after the release of Mojave OS, MacOS has its own built-in screenshot tool – similar windows as the snipping tool, with which you can take screenshot with a click of a button.
Let start with opening the screenshot tool through different methods,
Navigate to Launchpad > Other > Screenshot app
Open Spotlight by pressing Command⌘ + Spacebar and then type in screenshot.
From keyboard shortcut, press Shift⇧ + Command⌘ + 5.
screenshot_app_of_macbook-pro
A box with a floating toolbar appears on the screen offers grabs the entire screen, a selected window, or a custom section of the screen. Along with that you can also capture the screen as video of the entire screen or a custom selection.
Here’s are some features of screenshot tool and how to use them.
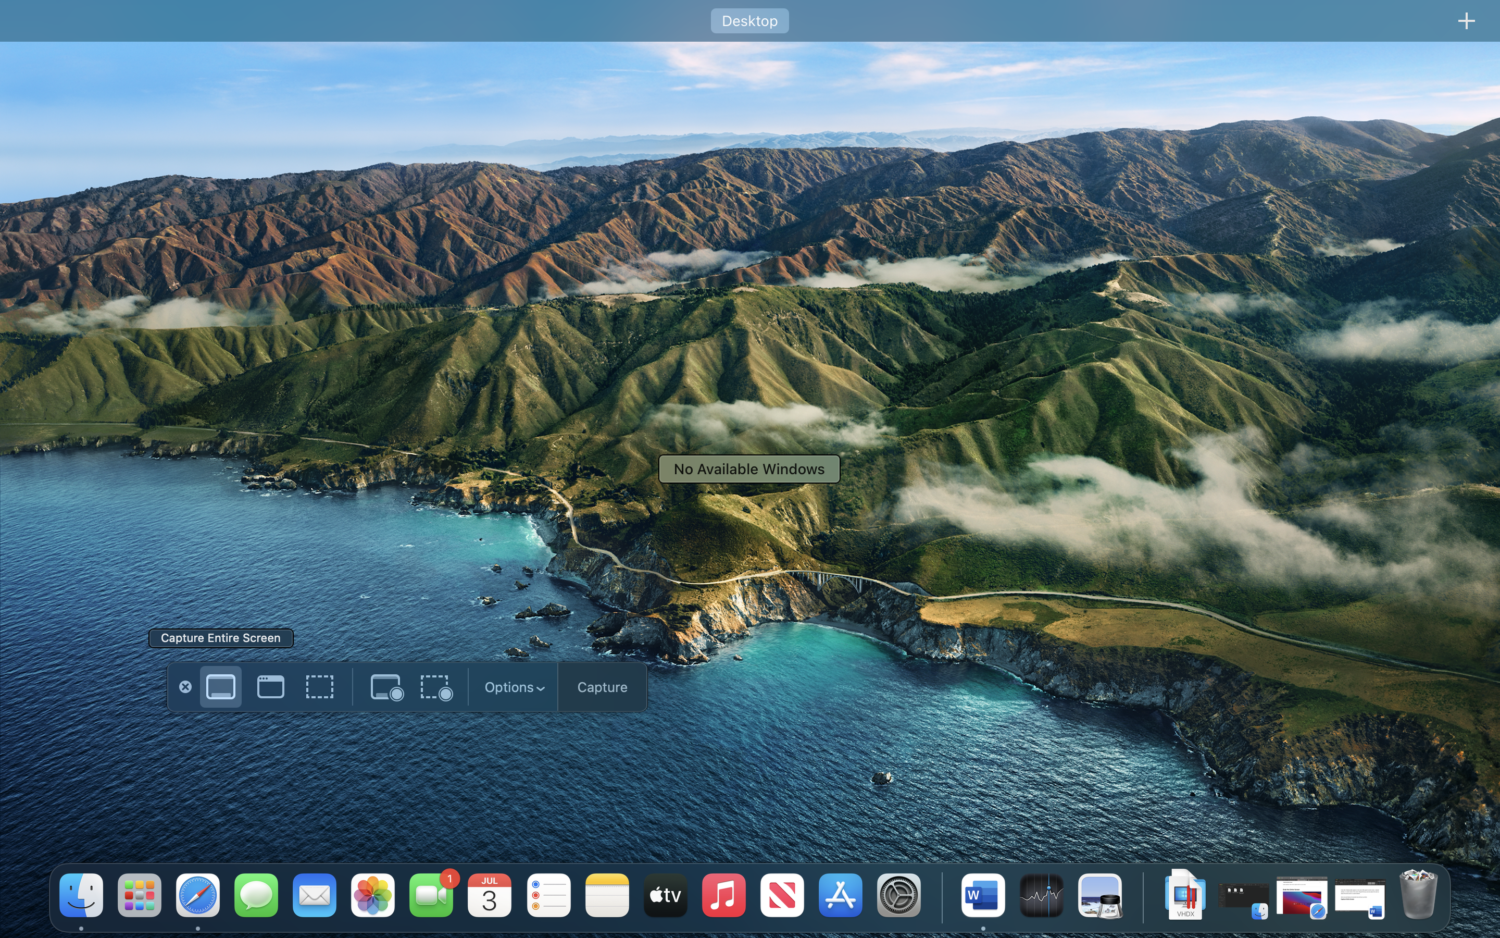
Capture Entire Screen
Capture Entire screen
You can take the full desktop screenshot by selecting Capture Entire Screen button on the toolbar. Keyboard shortcut for capturing the entire screen is Shift ⇧ + Command ⌘ + 3.
Capture Selected Window
Capture selected window
To capture a selected window, press Shift ⇧ + Command ⌘ + 5 and select the second option of capture select windows then click on the windows, it will take the screenshot of that opened window.
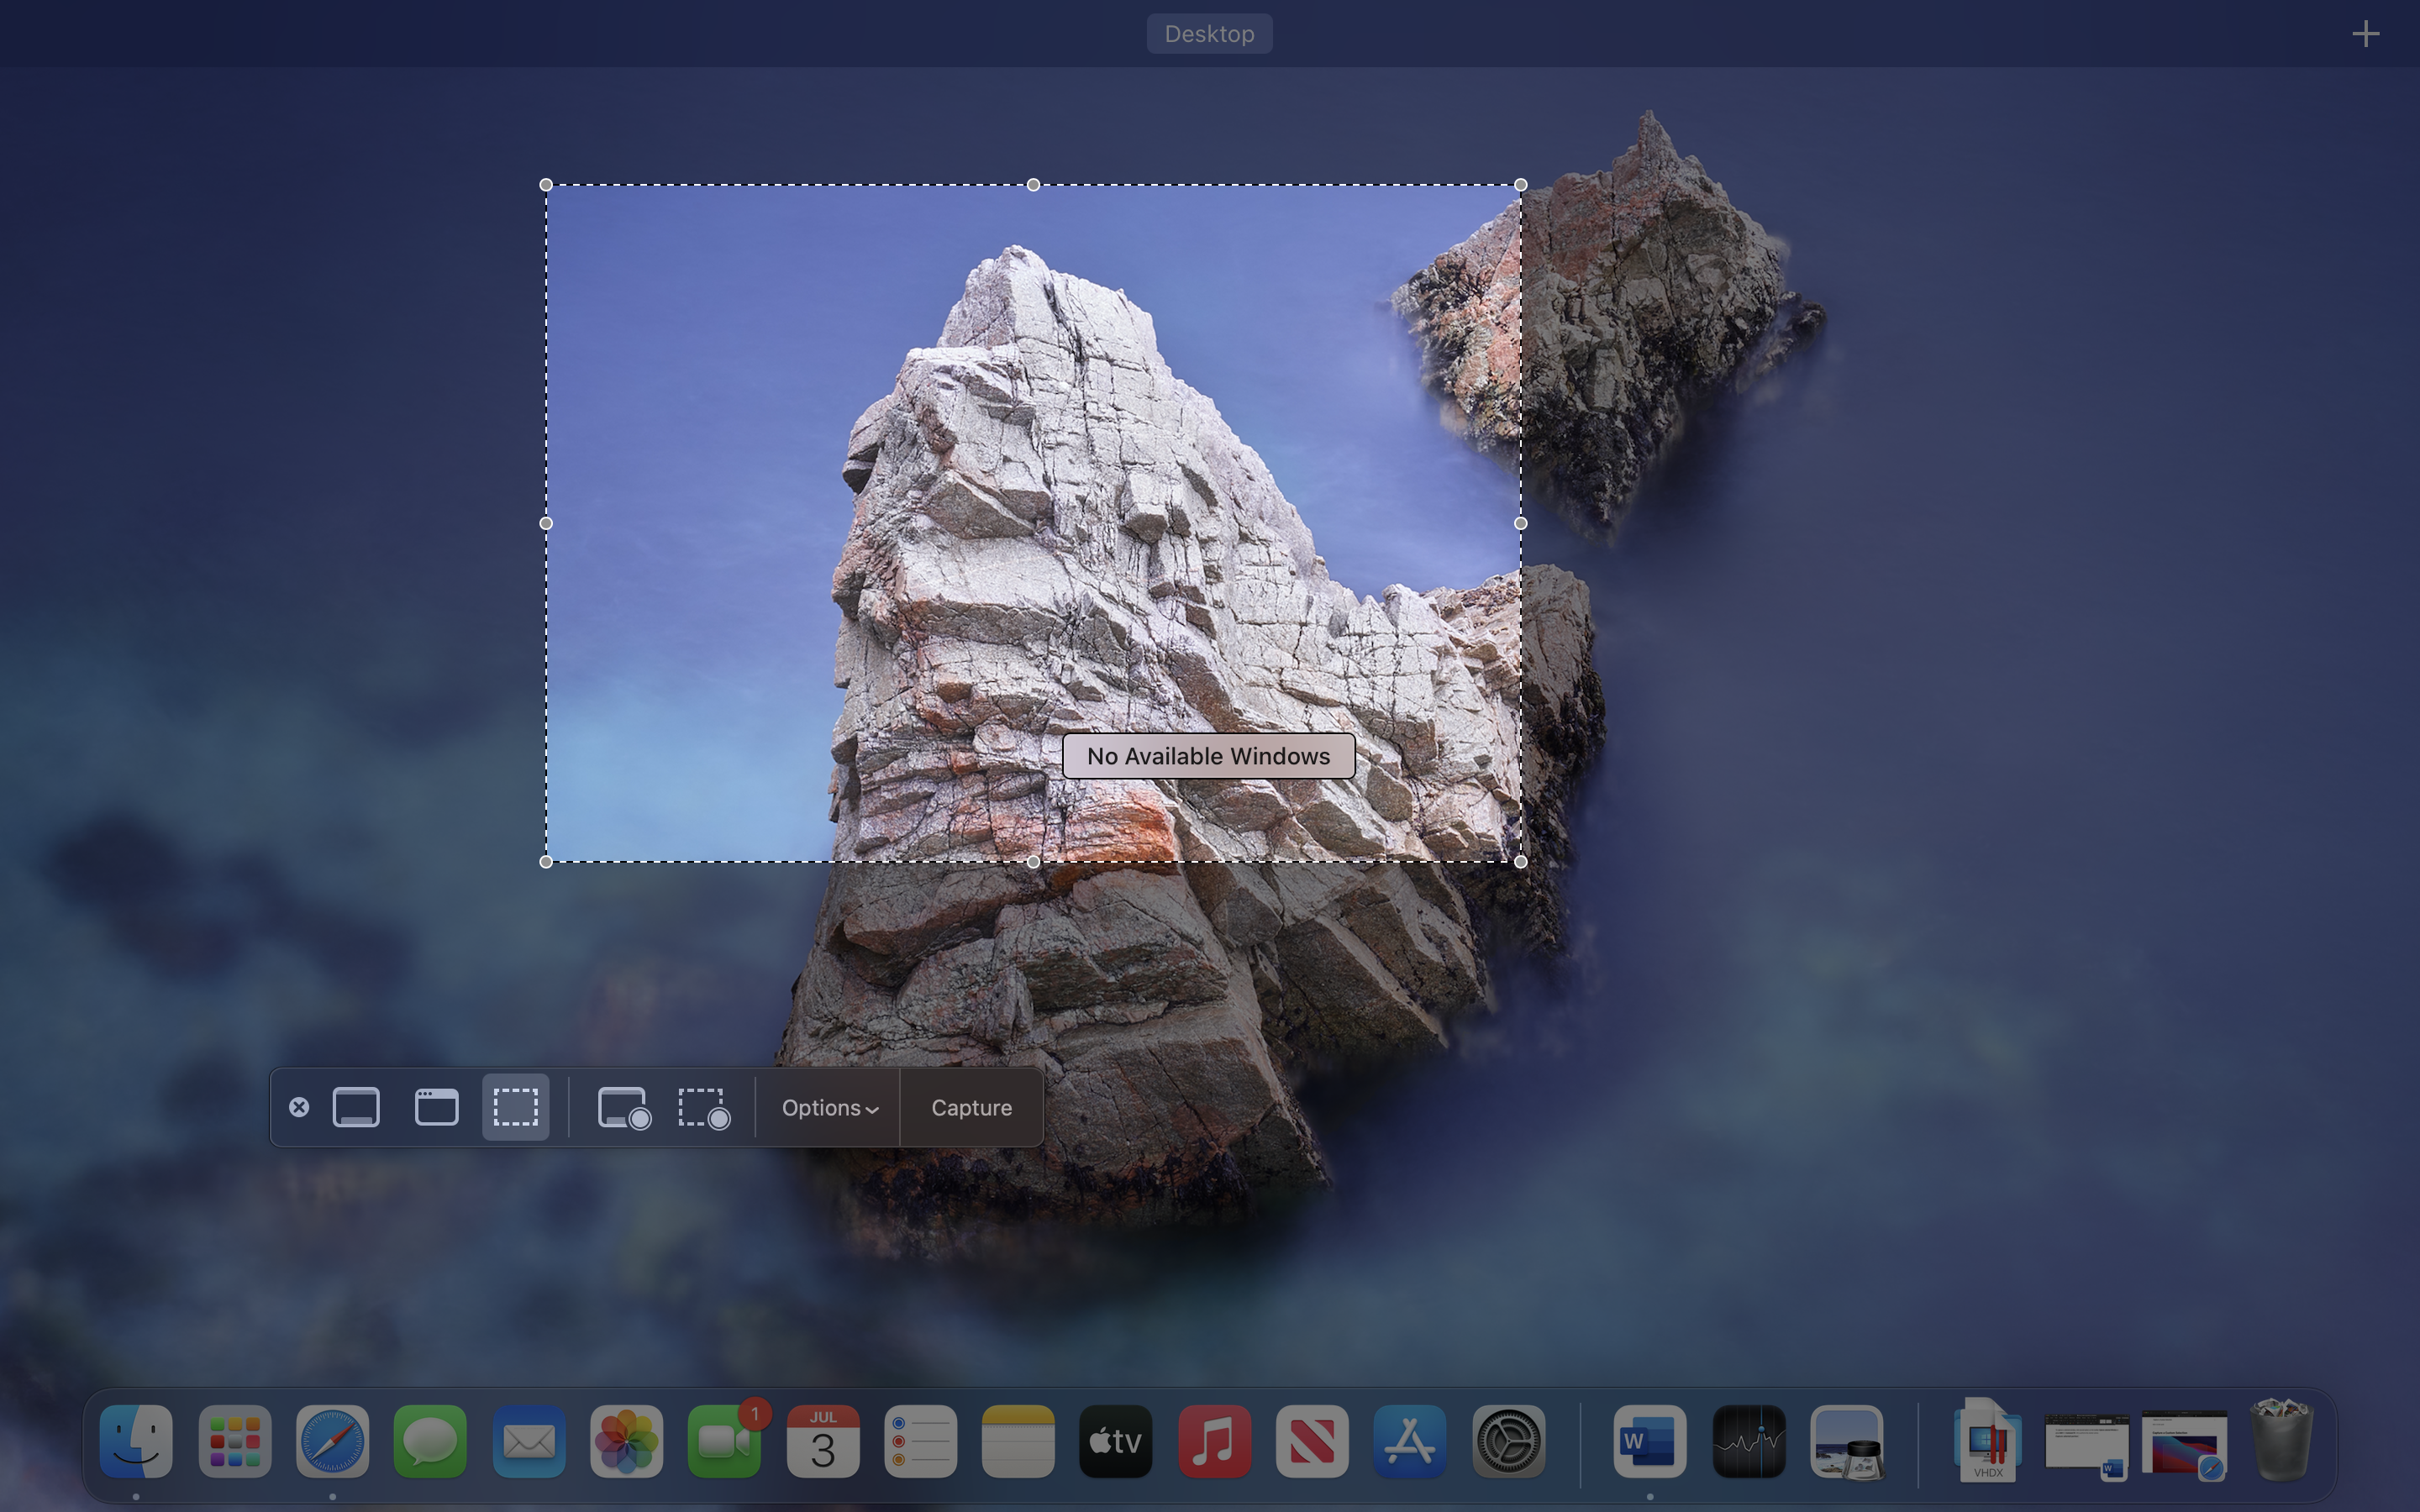
Capture selected portion
Capture selected portion
The third option on the toolbar is screen capture by selected portion. You can select the desire portion and take a screenshot of that. Click on the third tab from left, a + pointer will appear. While press the trackpad or left mouse button, select the area while dragging the cursor. When you leave the cursor screenshot will be taken. Another way of doing it is by shortcut keys press Shift ⇧ + Command ⌘ + 4 and repeat the same action as above.
How to take screen of Touch Bar
This feature is only available in MacBook pros with Touch Bar’s. To Capture the screen shot of Touch Bar Press Shift ⇧ + Command ⌘ + 6.
MacBook Pro Touch Bar
Record Screen
Screen recording is available in two types.
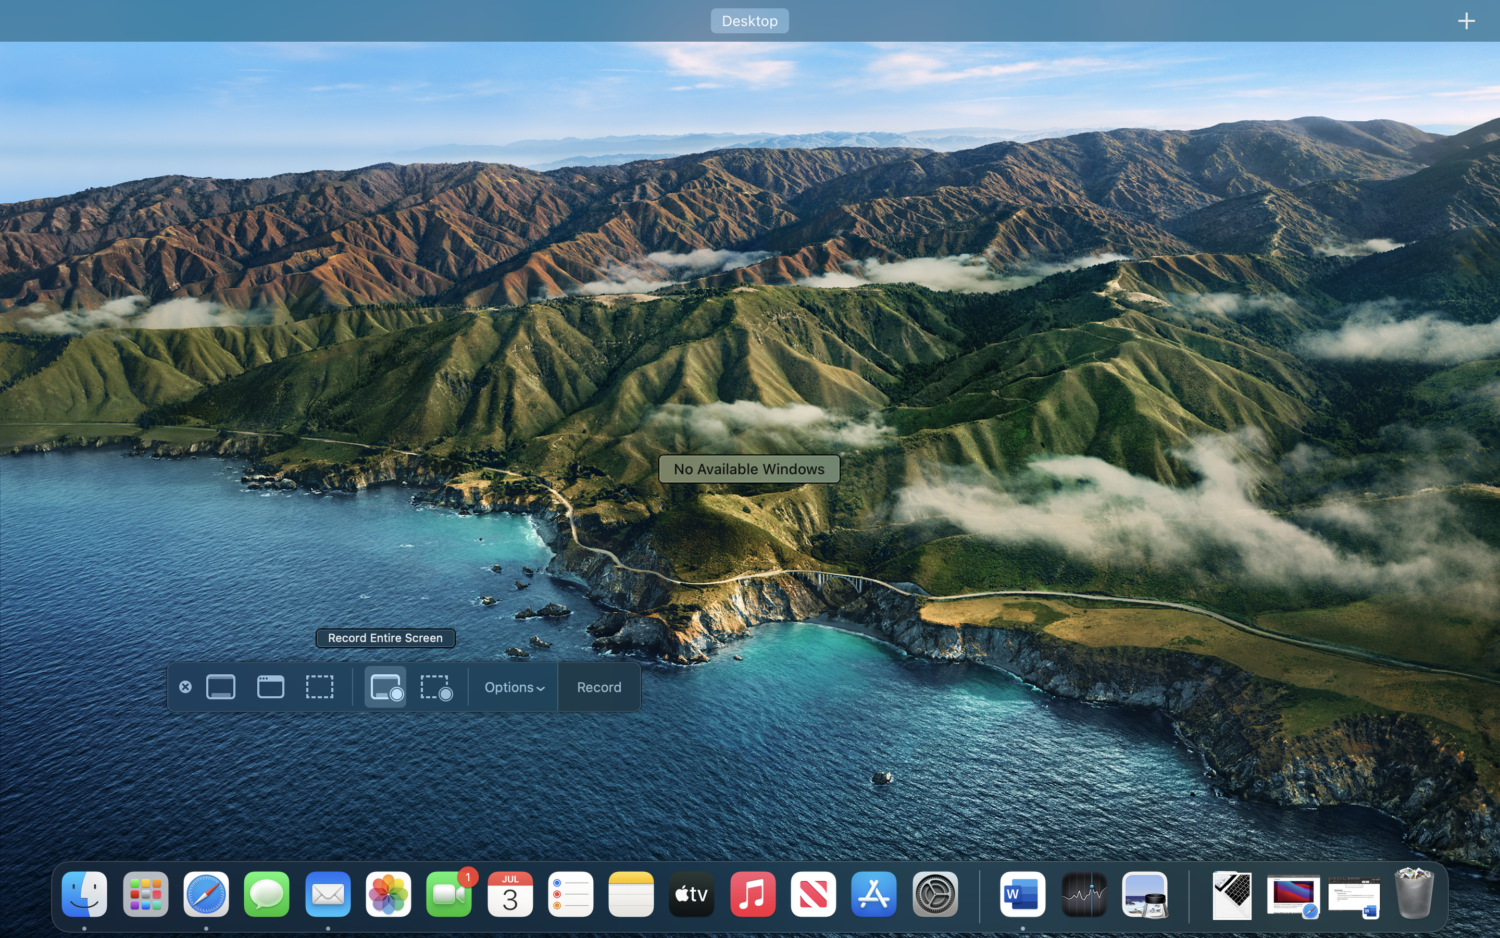
Record entire screen
Press it and a record option appear on the toolbar when you hit the record button, whole screen recording will start.
Record selected portion
When you select the Record selected portion, A + cursor will appear with which you can select the desired portion to record. You can also set timer to start the recording through timer in the optionsection.
Record Entire Screenshot
Record Selected portion
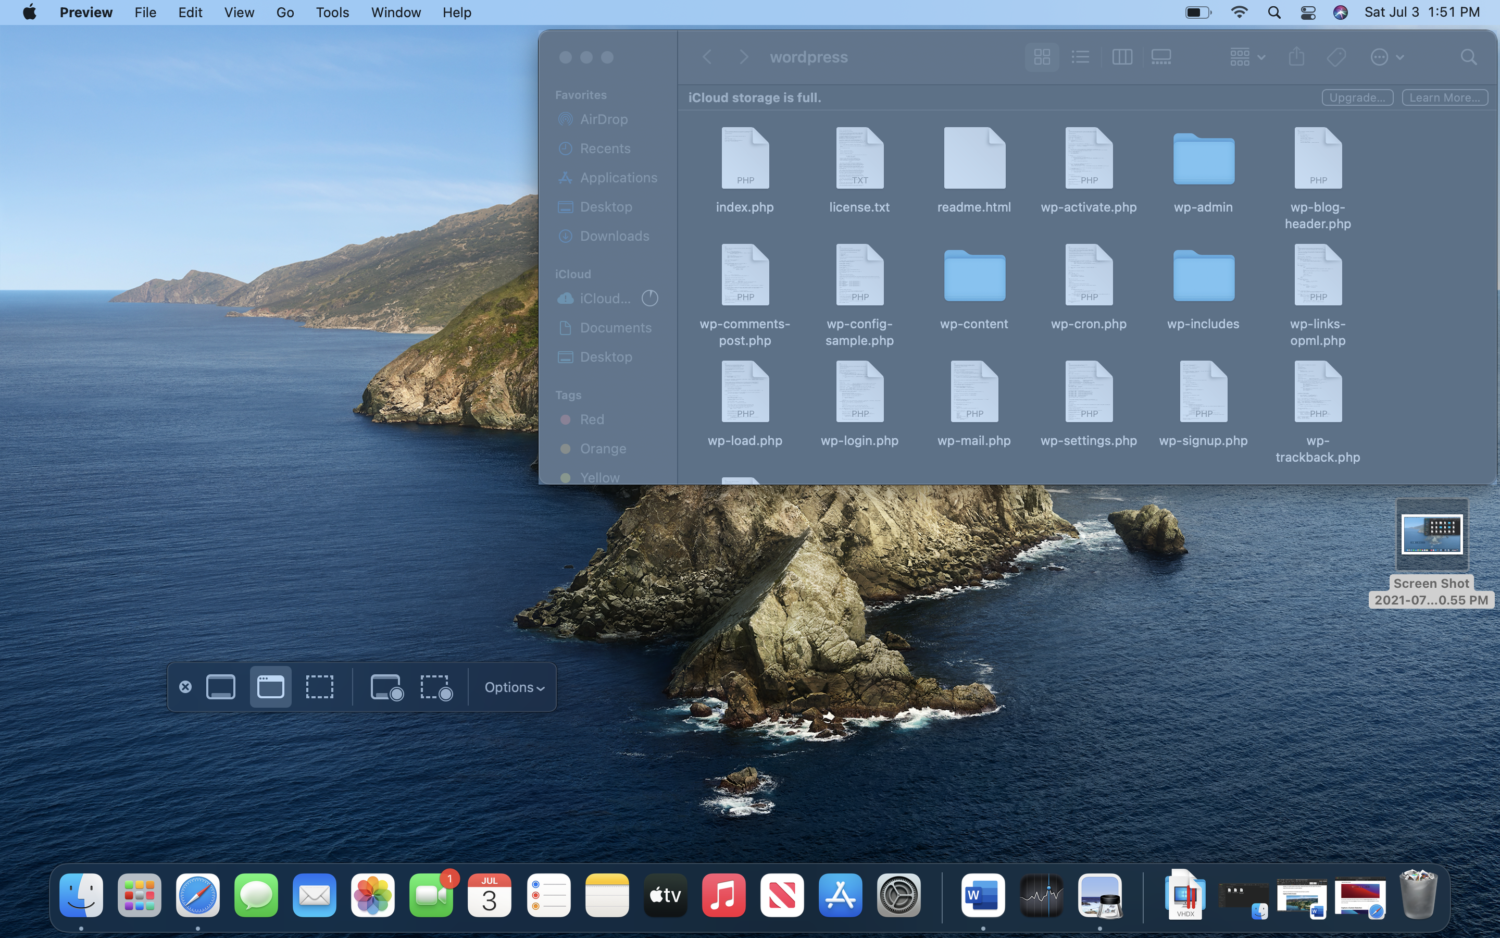
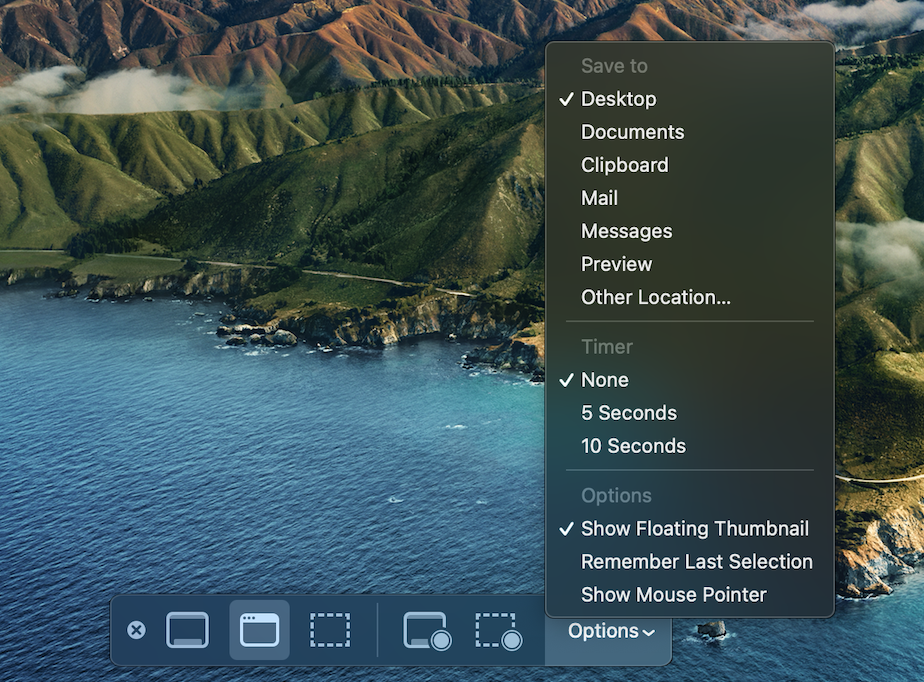
To change or check the location of saved screenshots, Click Options > Save to and select a new default location—Desktop, Documents, Clipboard, Mail, Messages, or Preview. If you want to save at some other location or folder, you can Click Other Location to choose a specific folder.
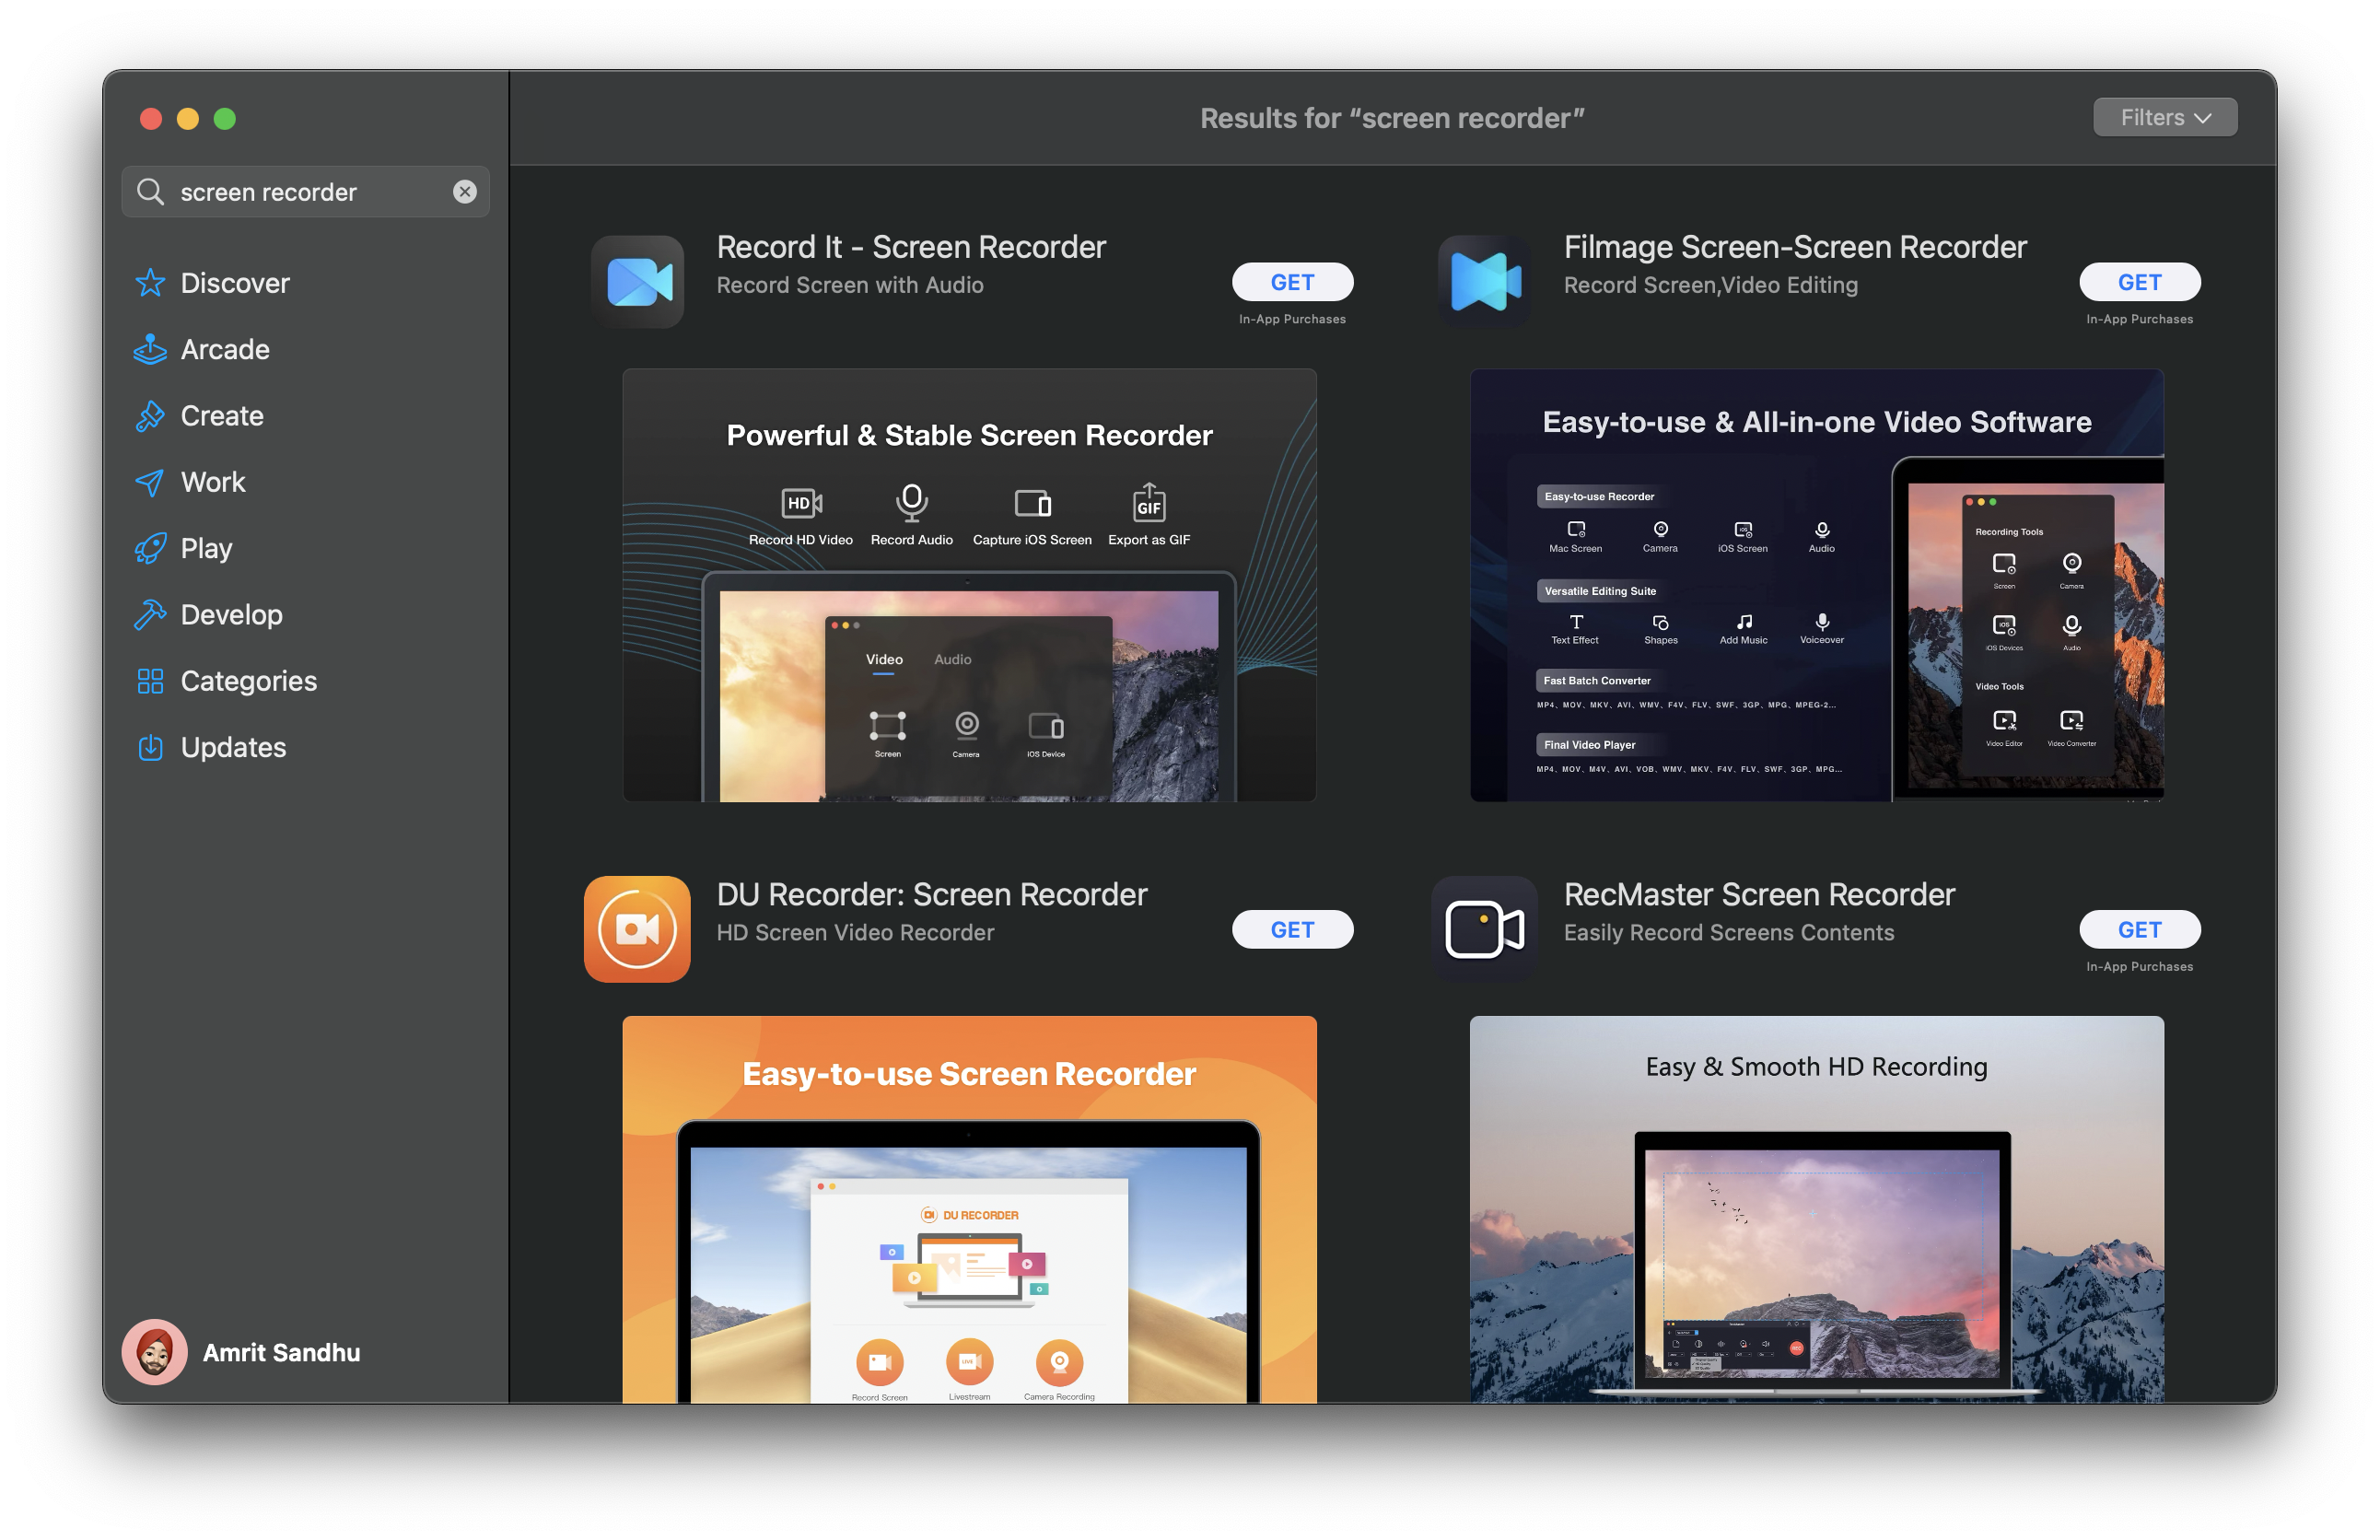
Third-Party software to capture screenshot
There are always many ways to perform a single task. Same as that screen recording has another third-party software’s available on the App Store. For example, search screen recorder in app store will give you some software like Record it, Filmage Screen, DU Recorder and many more. You can the one of your choice. Click the button below to download apps from App Store.